
Introduction
When it comes to creating stunning websites, animations play a crucial role in enhancing user experience. While Webflow offers built-in animation capabilities, integrating GSAP (Green Sock Animation Platform) can elevate your site to new heights. In this post, we'll explore how to create Fade-in and Stagger animations using GSAP and why this approach offers advantages over native Webflow animations.
Why Choose GSAP Over Webflow Animations?
(1) Performance and Flexibility
GSAP is known for its high performance and efficiency, even with complex animations. This ensures that your animations run smoothly without compromising the website's load times. GSAP's flexibility allows for a wide range of animation effects that are often more sophisticated than what Webflow's native tools can provide.
(2) Ease of Use and Detailed Control
With GSAP, developers have precise control over every aspect of an animation. This includes timing, easing, and sequencing. Such detailed control can be challenging to achieve with Webflow's more simplified interface. GSAP also supports timeline-based animations, which can be incredibly powerful for creating intricate sequences.
(3) Cross-Browser Compatibility
GSAP ensures that your animations look and perform consistently across all major browsers. This is particularly beneficial for ensuring a seamless experience for all users, regardless of their browser choice.
Getting Started with GSAP Animations in Webflow
Setting Up GSAP in Webflow
To start using GSAP in your Webflow project, you'll first need to include the GSAP library and the ScrollTrigger plugin. This can be done by adding the relevant CDN links to the head section of your Webflow project.
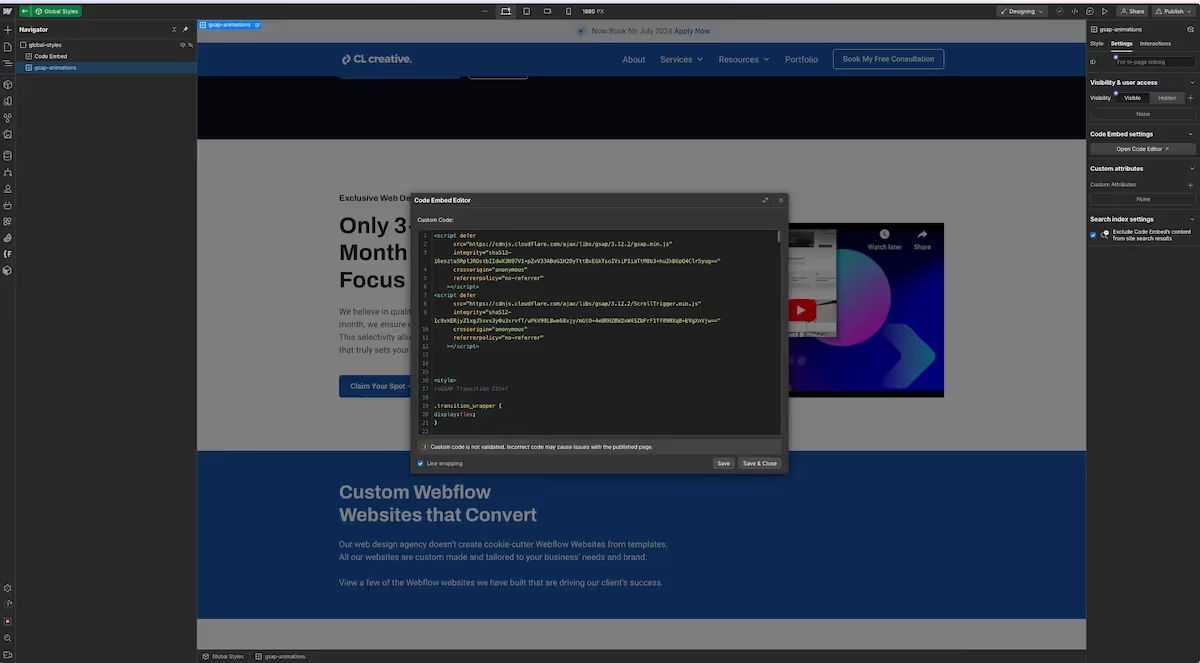
1. Add to a custom code embed
I add all my code into a code embed element that I turn into a component and place at the top of every page I intend to utilize this animation on.
2. Include GSAP Library:
<script src="https://cdn.jsdelivr.net/npm/gsap@3.12.5/dist/gsap.min.js"></script>

<script src="https://cdn.jsdelivr.net/npm/gsap@3.12.5/dist/ScrollTrigger.min.js"></script>
3. Register ScrollTrigger Plugin:
You want to make sure that you register your plugin at the top of your code.
Also, notice I wrap everything inside of the window.Webflow... command. This ensures that Webflow loads before the code runs.
You also want to make sure that you wrap everything inside of a script tag so Webflow will load the script.
<script>
window.Webflow ||= [];
window.Webflow.push(() => {
  gsap.registerPlugin(ScrollTrigger);

});
</script>
Creating a Fade-In Animation
Here is the code you will utilize for the Fade-In Animation.
Make sure you add the custom attribute to the element you want to fade-in.
 ///////////////////// FADE IN ANIMATION ////////////////

  const fadeInElements = gsap.utils.toArray("[fade-in]");

  fadeInElements.forEach((fadeInElement) => {
    gsap.fromTo(
      fadeInElement,
      { opacity: 0, y: 20 }, // Initial state
      {
        // Final state
        opacity: 1,
        y: 0,
        duration: 0.5,
        scrollTrigger: {
          trigger: fadeInElement,
          start: "top 60%", // When top of element reaches 60% in the viewport
          end: "bottom 50%", // When bottom of element reaches 50% in the viewport
          //markers: "true", // Turn markers on (uncomment) to see where the element will start the animation. Be sure to turn off when publishing to the production domain or they will show on the live website.
        },
      }
    );
  });

  ///////////////////// END FADE IN ANIMATION ////////////////
Creating a Stagger Animation
Here is the code you will utilize for the Fade-In Animation.
Make sure you add the custom attribute to the list that houses the children elements for the children you want to fade-in on stagger.
 ///////////////////// BEGIN FADE LIST ANIMATION ////////////////

  const fadeInLists = gsap.utils.toArray("[fade-list]");

  fadeInLists.forEach((fadeInList) => {
    gsap.fromTo(
      fadeInList.children,
      { opacity: 0, y: 20 }, // Initial state

      {
        // Final state
        opacity: 1,
        y: 0,
        duration: 0.5,
        stagger: 0.2,
        scrollTrigger: {
          trigger: fadeInList,
          start: "top 60%", // When top of element reaches 60% in the viewport
          end: "bottom 50%", // When bottom of element reaches 50% in the viewport
          // markers: "true", // Turn markers on (uncomment) to see where the element will start the animation. Be sure to turn off when publishing to the production domain or they will show on the live website.
        },
      }
    );
  });

  ///////////////////// END FADE LIST ANIMATION ////////////////
Refresh Scroll Trigger
In order to make sure that Scroll Trigger runs correctly, you can refresh it after the page loads. I have included two options for this refresh.
The first option uses setTimeout and the second options uses the load event.
The load event has the advantage of not waiting for an arbitrary time to refresh the page, but rather waits until everything has been loaded before refreshing Scroll Trigger.
As well as you can refresh it manually. Be cautious about refreshing Scroll Trigger manually as it can hinder performance.
Also, you will not need this step if you have add width and height to each image, as well as set an aspect ratio on each image. If you have done that, you won't need the manual refresh, but I'm including it just in case you run into issues.
Use the Potato extension to help add width and height to your images and for reference when setting up custom aspect ratios.
Here is the code for both the setTimeout refresh and the manual refresh.
//////////// REFRESH SCROLLTRIGGER after everything has loaded //////////////

  // Pick between these two. The load event is a great option to ensure everything is loaded.

  /////////// OPTION 1 - setTimeout ///////////
  //Using a setTimeout to ensure everything has loaded on the page.

  setTimeout(() => {
    ScrollTrigger.refresh(true);
    console.log("Scroll Trigger has been refreshed");
  }, 1500); //Refreshes ScrollTrigger after 1.5 seconds to ensure everything has completed loaded and is settled into place.

   ///////// OPTION 2 - Load event /////////

   //Using the 'load' event to ensure everything has loaded on the page

  window.addEventListener('load', () => {
    ScrollTrigger.refresh(true);
    console.log("Scroll Trigger has been refreshed");
  });
  ///////////// MANUAL SCROLLTRIGGER REFRESH /////////////////

  //Meant to esnure Fade In Animiation above runs properly. Placed selectively to refresh scrollTrigger on sections that were affecting scrollTrigger animations afterwards. These are typically sections that have fade-in animations where images are loading, or sections that have dynamic content that needs to load. If proper aspect-ratio's are applied to all images on the site, you should not need this option.

  //But if you need to use it, place refresh in the attributes panel on the element at which you want Scroll Trigger to be refreshed. No value is needed.

  const refreshElements = gsap.utils.toArray("[refresh]");

  refreshElements.forEach((refreshElement) => {
    const id = refreshElement.id; // Get the ID of the element
    const message = `${id} has refreshed` || "section refreshed - no ID added";
    const refresh = gsap.timeline({
      scrollTrigger: {
        trigger: refreshElement,
        start: "top bottom",
        onLeave: () => {
          console.log(message);
          ScrollTrigger.refresh();
        },
      },
    });
  });
All the code in one block
Paste this code into your custom code embed, make it a component and place it on every page you want the animations to occur.
<script src="https://cdn.jsdelivr.net/npm/gsap@3.12.5/dist/gsap.min.js"></script>

<script src="https://cdn.jsdelivr.net/npm/gsap@3.12.5/dist/ScrollTrigger.min.js"></script>

<script>
window.Webflow ||= [];
window.Webflow.push(() => {
  gsap.registerPlugin(ScrollTrigger);

  ///////////////////// FADE IN ANIMATION ////////////////

  const fadeInElements = gsap.utils.toArray("[fade-in]");

  fadeInElements.forEach((fadeInElement) => {
    gsap.fromTo(
      fadeInElement,
      { opacity: 0, y: 20 }, // Initial state
      {
        // Final state
        opacity: 1,
        y: 0,
        duration: 0.5,
        scrollTrigger: {
          trigger: fadeInElement,
          start: "top 60%", // When top of element reaches 60% in the viewport
          end: "bottom 50%", // When bottom of element reaches 50% in the viewport
          //markers: "true", // Turn markers on (uncomment) to see where the element will start the animation. Be sure to turn off when publishing to the production domain or they will show on the live website.
        },
      }
    );
  });

  ///////////////////// END FADE IN ANIMATION ////////////////

  ///////////////////// BEGIN FADE LIST ANIMATION ////////////////

  const fadeInLists = gsap.utils.toArray("[fade-list]");

  fadeInLists.forEach((fadeInList) => {
    gsap.fromTo(
      fadeInList.children,
      { opacity: 0, y: 20 }, // Initial state

      {
        // Final state
        opacity: 1,
        y: 0,
        duration: 0.5,
        stagger: 0.2,
        scrollTrigger: {
          trigger: fadeInList,
          start: "top 60%", // When top of element reaches 60% in the viewport
          end: "bottom 50%", // When bottom of element reaches 50% in the viewport
          // markers: "true", // Turn markers on (uncomment) to see where the element will start the animation. Be sure to turn off when publishing to the production domain or they will show on the live website.
        },
      }
    );
  });

  ///////////////////// END FADE LIST ANIMATION ////////////////

  //////////// REFRESH SCROLLTRIGGER after everything has loaded //////////////

  // Pick between these two. The load event is a great option to ensure everything is loaded.

  /////////// OPTION 1 - setTimeout ///////////
  //Using a setTimeout to ensure everything has loaded on the page.

  setTimeout(() => {
    ScrollTrigger.refresh(true);
    console.log("Scroll Trigger has been refreshed");
  }, 1500); //Refreshes ScrollTrigger after 1.5 seconds to ensure everything has completed loaded and is settled into place.

   ///////// OPTION 2 - Load event /////////

   //Using the 'load' event to ensure everything has loaded on the page

  window.addEventListener('load', () => {
    ScrollTrigger.refresh(true);
    console.log("Scroll Trigger has been refreshed");
  });

  ///////////// MANUAL SCROLLTRIGGER REFRESH /////////////////

  //Meant to esnure Fade In Animiation above runs properly. Placed selectively to refresh scrollTrigger on sections that were affecting scrollTrigger animations afterwards. These are typically sections that have fade-in animations where images are loading, or sections that have dynamic content that needs to load. If proper aspect-ratio's are applied to all images on the site, you should not need this option.

  //But if you need to use it, place refresh in the attributes panel on the element at which you want Scroll Trigger to be refreshed. No value is needed.

  const refreshElements = gsap.utils.toArray("[refresh]");

  refreshElements.forEach((refreshElement) => {
    const id = refreshElement.id; // Get the ID of the element
    const message = `${id} has refreshed` || "section refreshed - no ID added";
    const refresh = gsap.timeline({
      scrollTrigger: {
        trigger: refreshElement,
        start: "top bottom",
        onLeave: () => {
          console.log(message);
          ScrollTrigger.refresh();
        },
      },
    });
  });
});
</script>
Conclusion
Integrating GSAP with Webflow unlocks a world of possibilities for creating sophisticated and high-performance animations.
The level of control, flexibility, and cross-browser consistency provided by GSAP makes it a powerful tool for any web developer looking to enhance their Webflow projects.
By leveraging GSAP for animations, you can deliver a more engaging and dynamic user experience that stands out from the competition.
As well as you can experience a more performant website. Not having to load Webflow's animation library can really increase the overall load time of your website. Give it a try and see which wins in a speed test. Just be sure to completely remove all Webflow interactions from the website before testing the GSAP only alternative.

End to End Webflow Design and Development Services
From Web Design and SEO Optimization to Photography and Brand Strategy, we offer a range of services to cover all your digital marketing needs.

Webflow Web Design
We design custom Webflow websites that are unique, SEO optimized, and designed to convert.
Webflow Maintenance
Gain peace of mind knowing that a Webflow Professional Partner is maintaining your website.


Claim Your Design Spot Today
We dedicate our full attention and expertise to a select few projects each month, ensuring personalized service and results.